BlockCONNECT Guide
BlockCONNECT is our fully loaded attribution dashboard for creating, tracking, and monitoring one or many audience tracking pixels and attribution pixels. Audie
BlockCONNECT is our fully loaded attribution dashboard for creating, tracking, and monitoring one or many audience tracking pixels and attribution pixels. Audience tracking pixels allow advertisers to monitor user interactions across various platforms. Attribution pixels track conversions and attribute them to specific ads or touch-points. Before a pixel of any type goes live, users must have access to websites (and, possibly, some web-services) they intend to monitor.
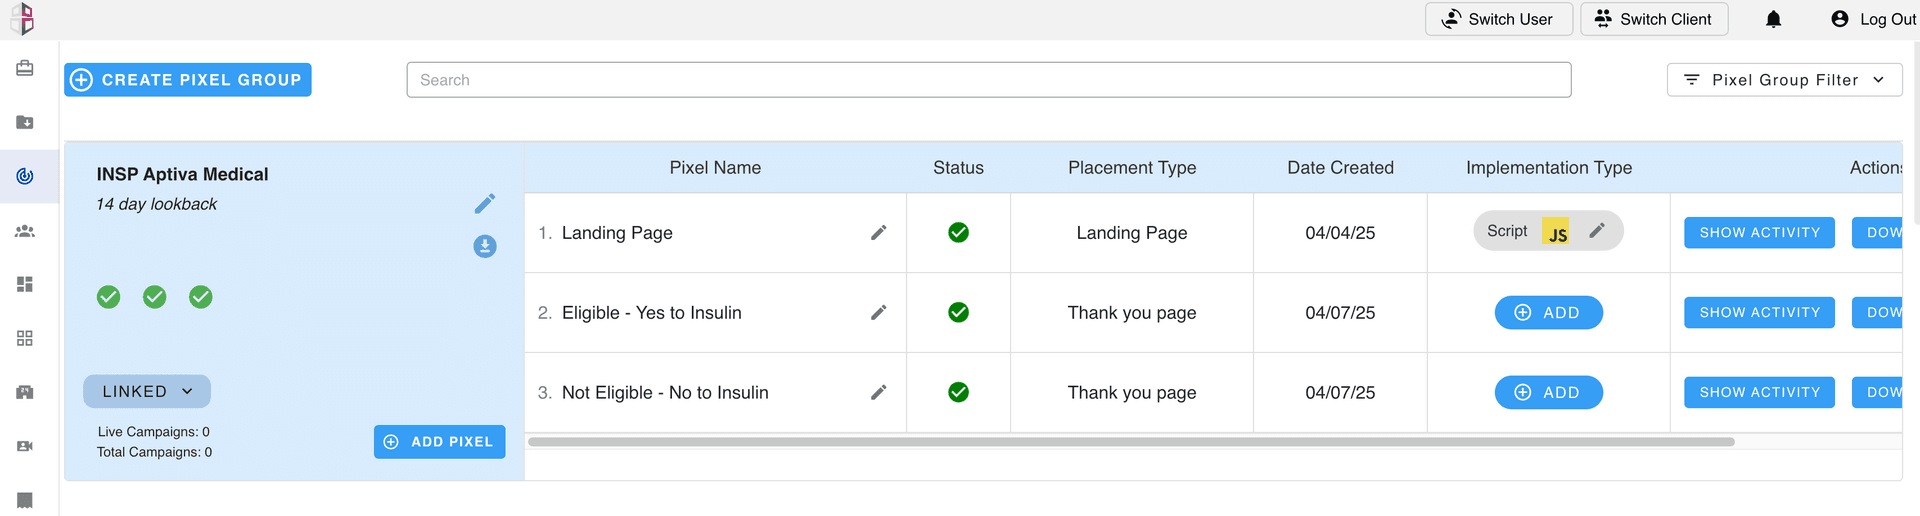
- 1Select the BlockCONNECT tab on the left panel.
- 2Click the CREATE PIXEL GROUP button in the upper left corner.
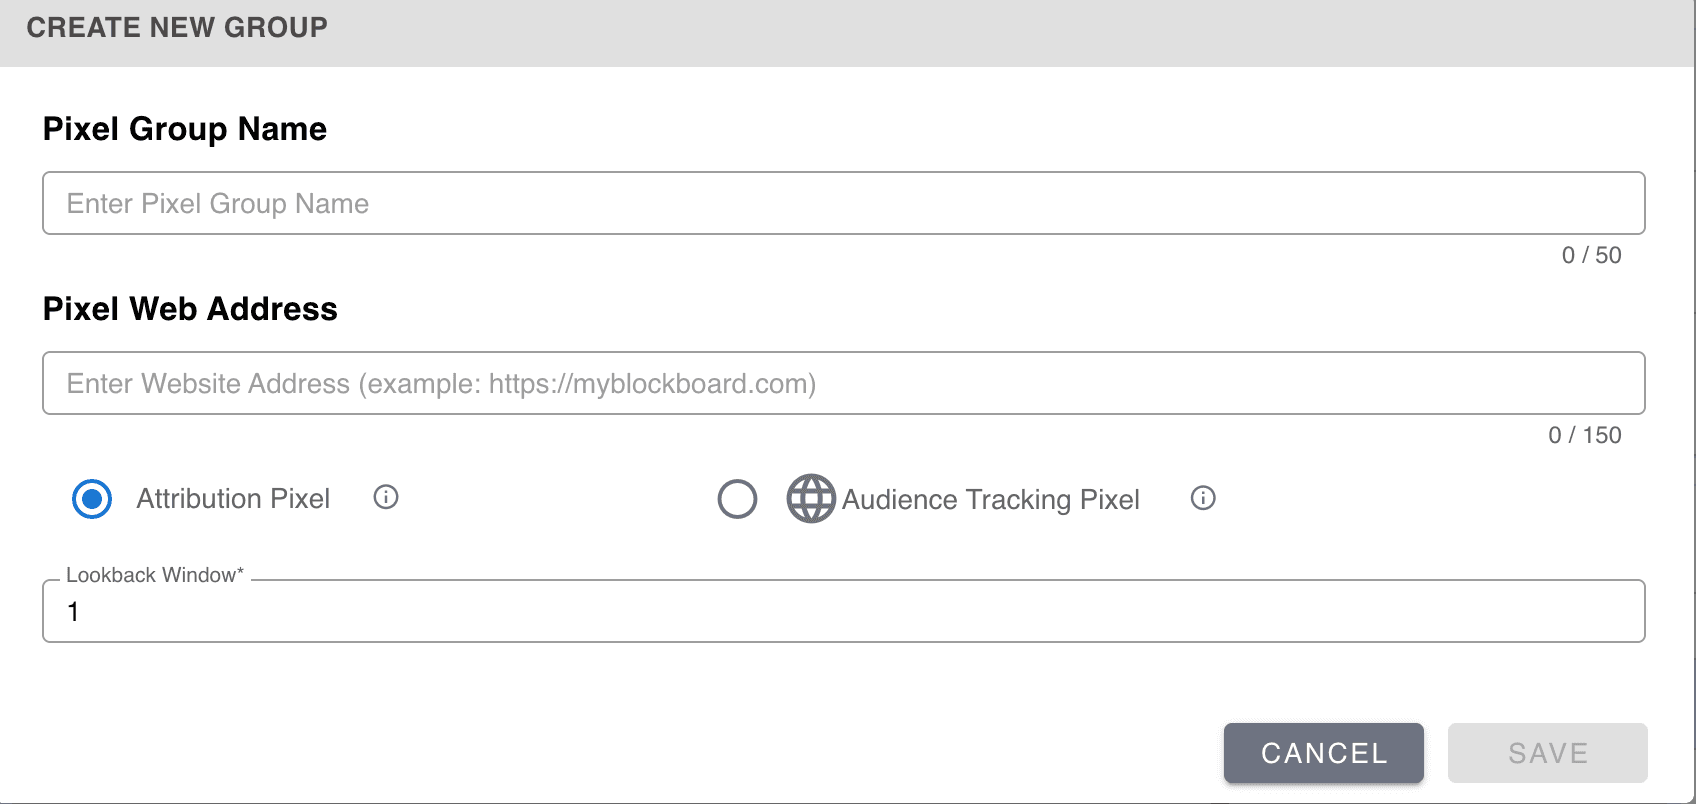
- 3Name the pixel group and enter the main website address of the brand.
- 4Select either Attribution Pixel or Audience Tracking Pixel.
- 5Enter Lookback Window timeframe.
- 6Click the ADD PIXEL button located in the bottom of the left window.

- 7Enter the Pixel Name.
- 8Select the Placement Type. This refers to the planned location of the pixel on the webpage.
- 9Choose whether to include marcos or not. Also, the user can name the marcos at this stage.
- 10Click Save and see the pixel entry appear on the right side table.
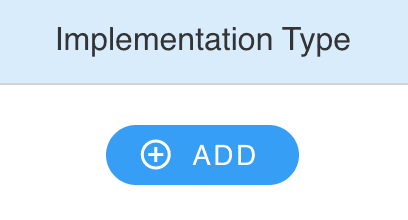
- 11Under the Implementation Type column, click ADD.
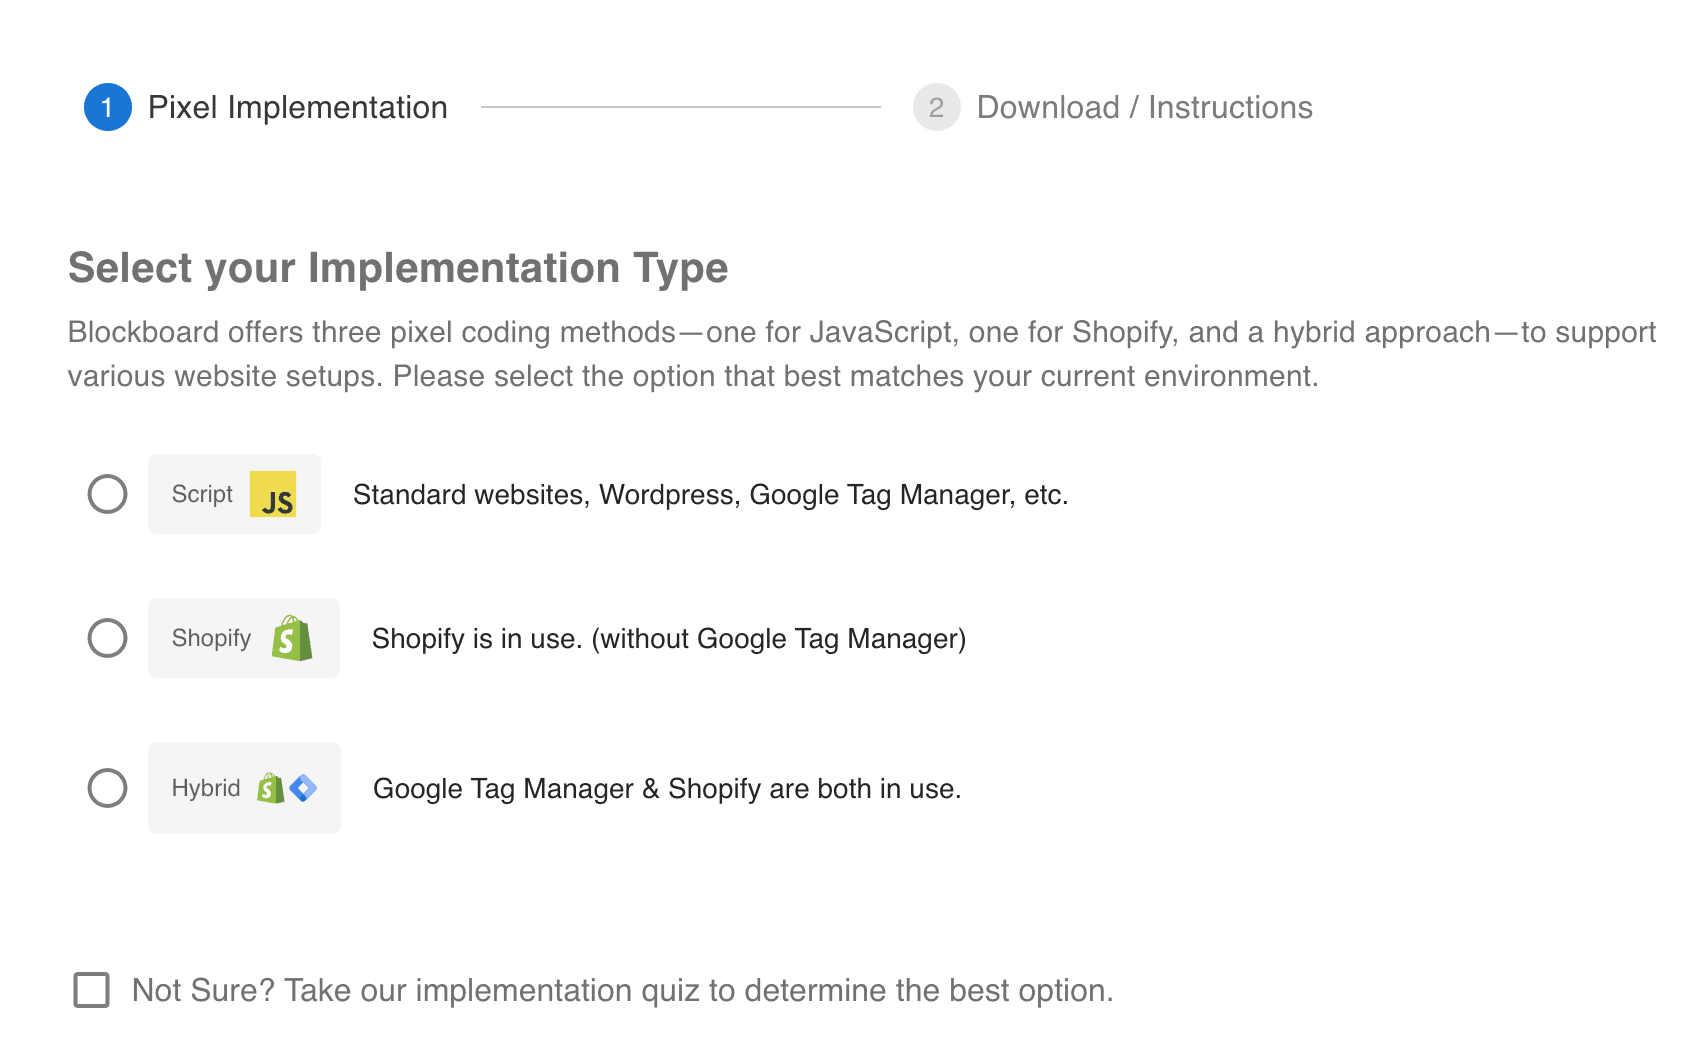
- 12Choose the Implementation Type.
- Script = Standard websites, Wordpress, Google Tag Manager, etc...
- Shopify = Shopify is in use (with out Google Tag Manager)
- Hybrid = Both Shopify and Google Tag Manager are in use.
- Not sure? = If the user is not sure, they can select this option and take a short quiz, to help find the correct implementation type.
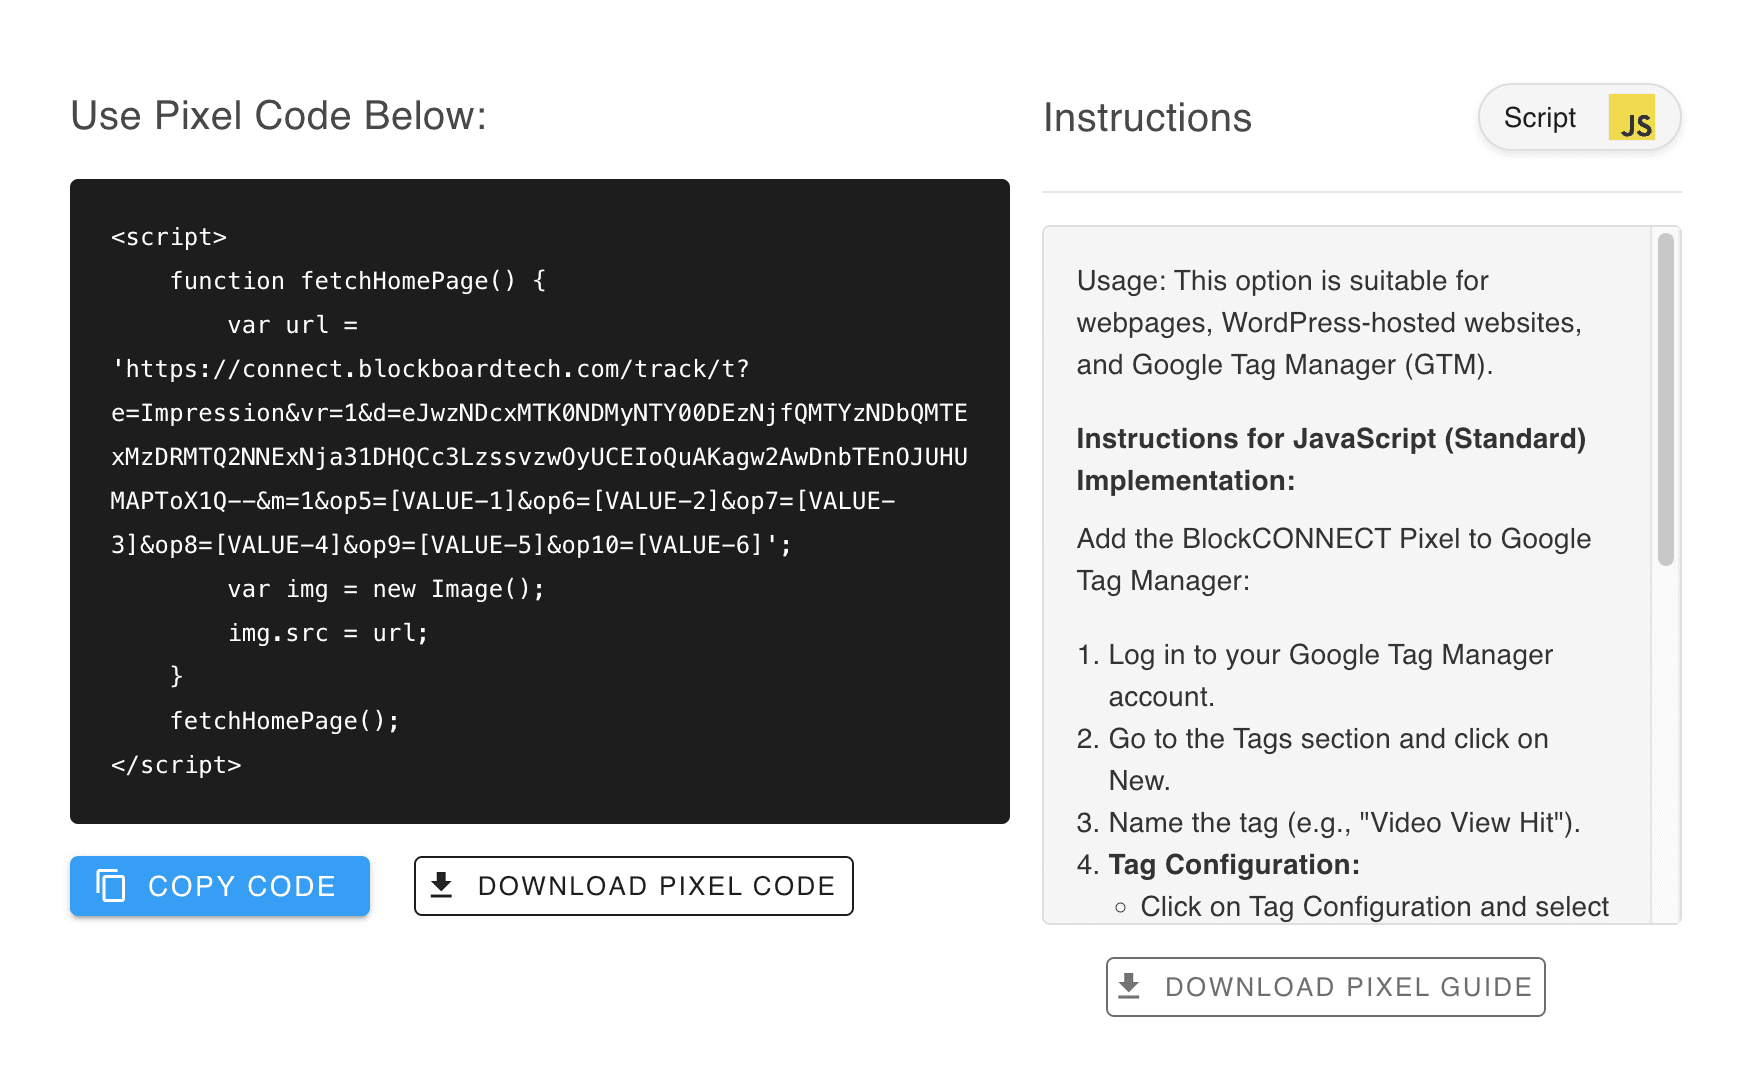
- 1The instruction page allows the user to Copy Code, Download Code, or Download Instructions based on the implementation type they selected.
- 2Select Finish to save the pixel info.
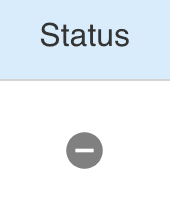
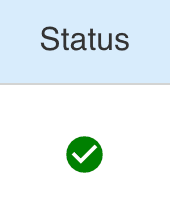
- 3Under the Status column, the user can see if the pixel is active.
- 4The Actions column allows the user to:
- SHOW ACTIVITY = a graph of of pixel fires by date.
- DOWNLOAD = download all the different code options.
- X = delete the pixel.


Built for performance marketers, BlockVantage steers every step of your programmatic workflow — from launch to optimization — in just a few clicks.
Get Started Free