Pixel Implementation Guide
2. Select or create a pixel group.
BlockCONNECT Pixel Implementation Guidance
1. Navigate to the BlockConnect tag.
- 1Select or create a pixel group.
- 2Click on the download button.
- 3Open the file that is downloaded. It should appear like the following:
NoteThere will be 4 options for each pixel in the selected pixel group.
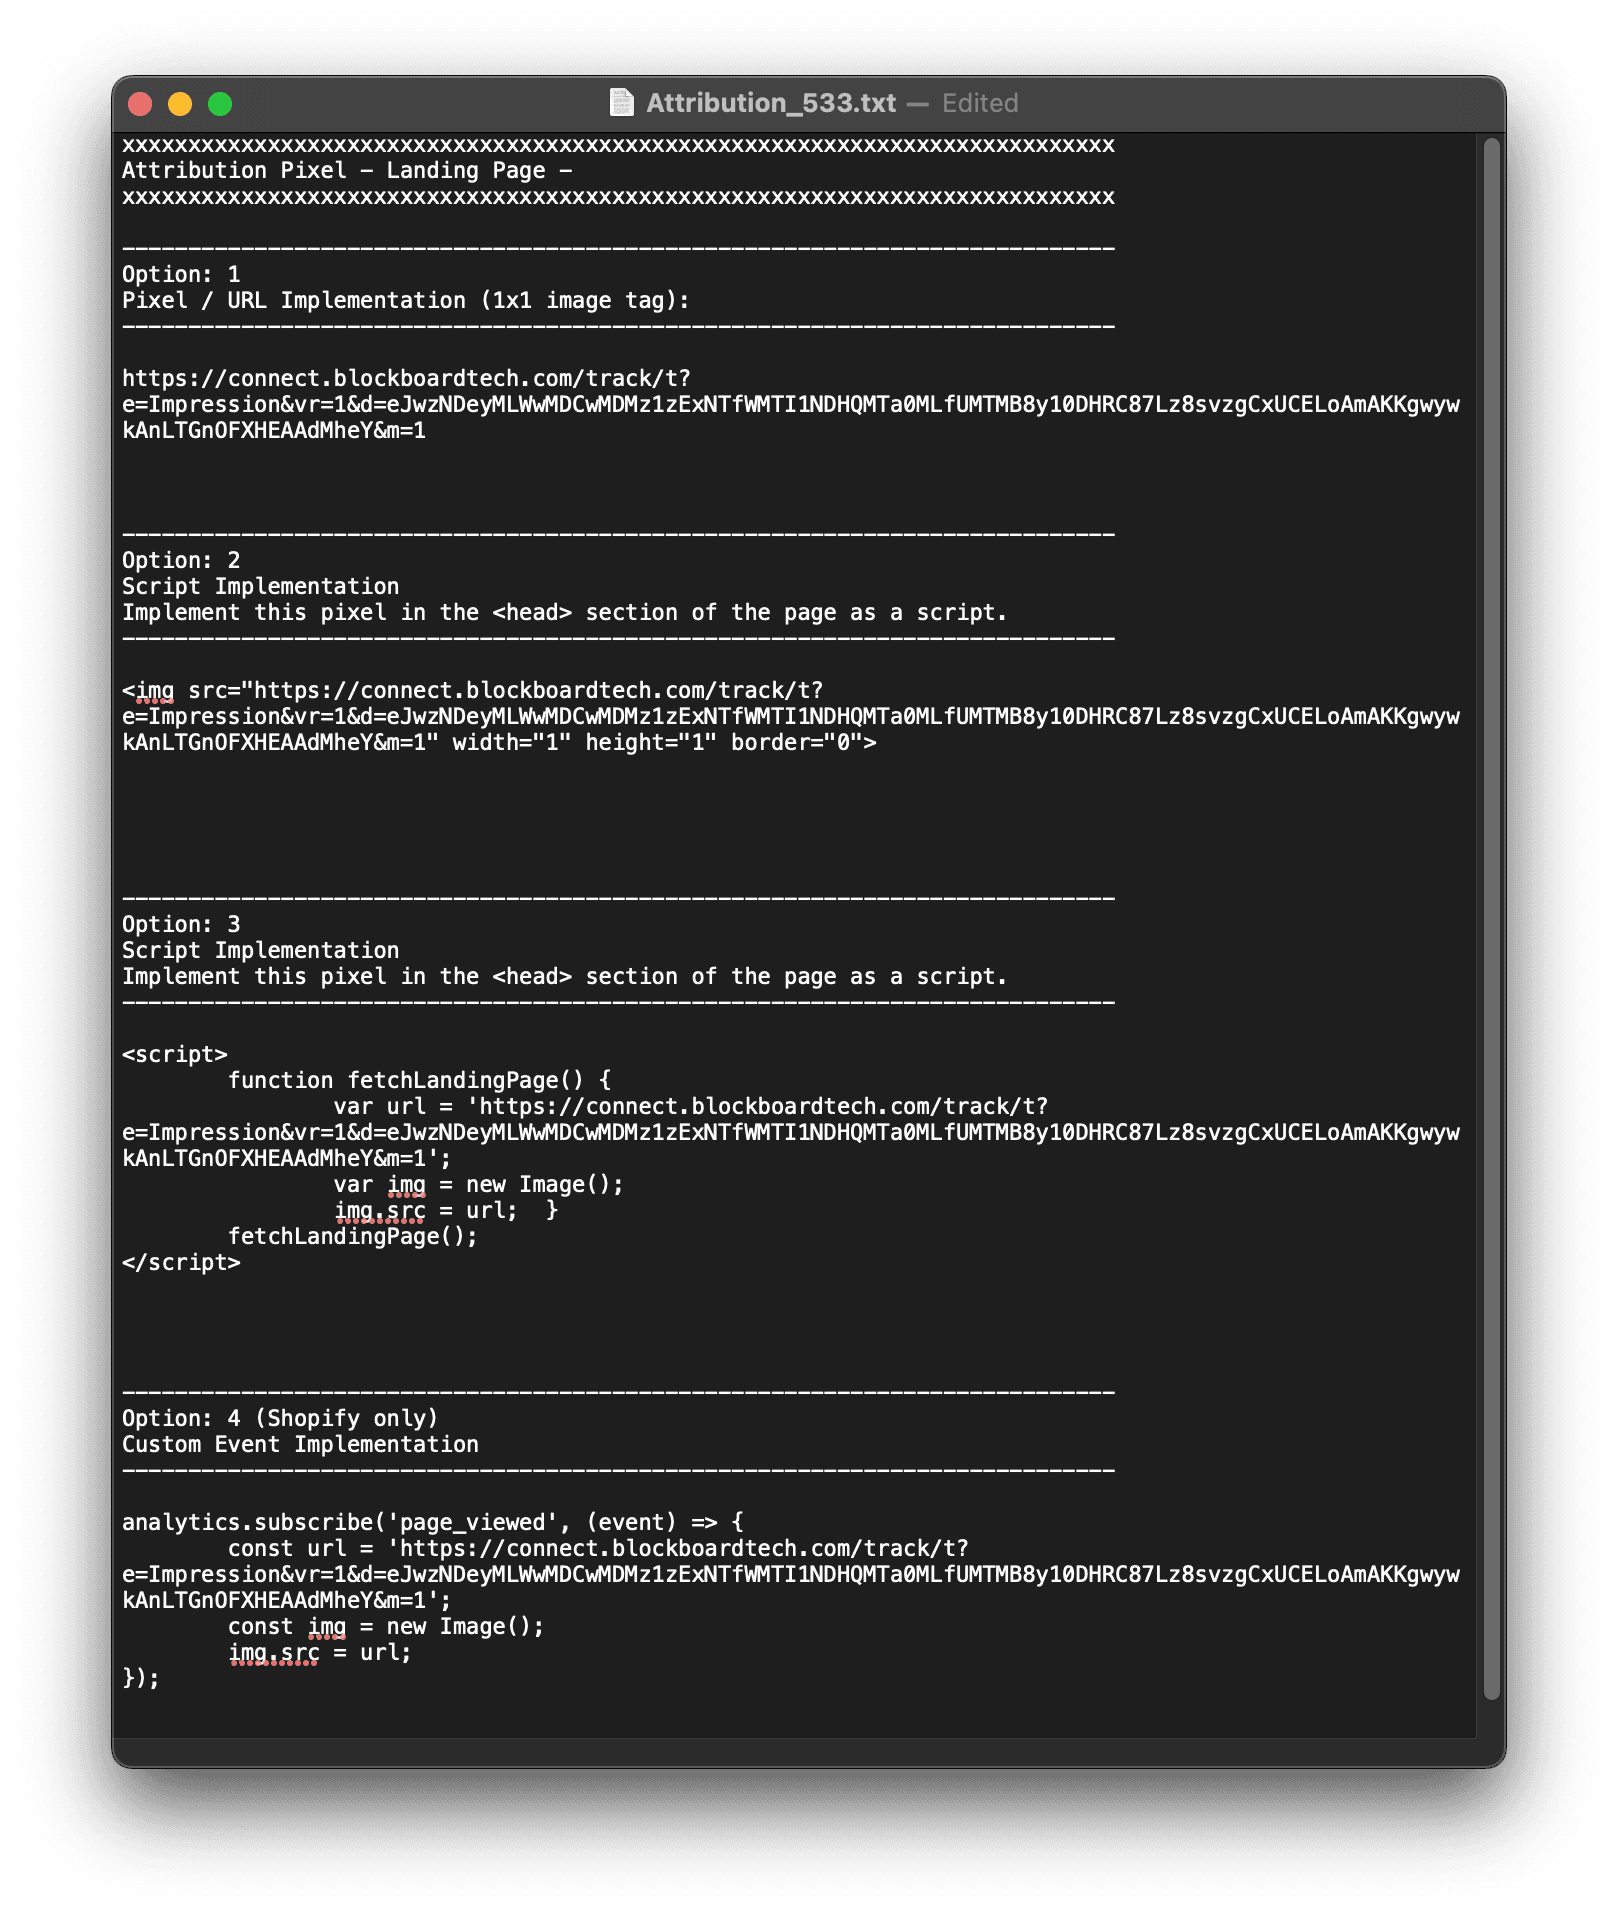
Option 1 & Option 2
These are older script-based implementations and can be disregarded.
Option 3: General Client Implementation (Webpages, WordPress, and Google Tag Manager)
- Usage: This option is suitable for webpages, WordPress-hosted websites, and Google Tag Manager (GTM).
- Log in to your Google Tag Manager account.
- Go to the Tags section and click on New.
- Name the tag (e.g., "Video View Hit").
- Click on Tag Configuration and select Custom Image Tag.
- Add URL: Enter the target URL in the "Image URL" field. This URL is what the pixel will hit in the background.
- Click on Triggering and select New to create a trigger.
- Name the trigger (e.g., "Video View Trigger").
- Choose the trigger type Page View, then save the trigger.
- After configuring the tag and trigger, save the tag and submit changes in Google Tag Manager to make the pixel live.
Option 4: Shopify Custom Pixel Implementation
- Usage: This option is for clients using Shopify. Shopify has recently added a dedicated third-party pixel area, allowing custom pixel scripts without Google Tag Manager.
- Note: This implementation requires custom script work and a minimum 3-day lead time.
- Log in to the Shopify store's admin panel and go to Settings > Customer Events.
- Click Add Custom Pixel and name it “Blockboard_Pixel”.
- Copy the provided BlockCONNECT pixel code and paste it into the code section of the event, then save the pixel.
- Click the Connect button in the top-right corner to finalize the setup.
For additional details on Shopify custom pixel scripts, refer to this example: Shopify Custom Tag Implementation Guide.

Ready to Transform Your Advertising?
Built for performance marketers, BlockVantage steers every step of your programmatic workflow — from launch to optimization — in just a few clicks.
Get Started Free